I can tilt quad and see it respond in MissionPlanner. I can also arm motors and run them a bit (no props yet).

Edit 2015-04 : Antenna Mounting and Placement Notes
So while this is the general idea for RX antenna placement, my RX has been moved to the other side since this pic was taken. Remember to use Taranis RSSI meter to evaluate antenna placement (with all electronics and radios ON). I like the RX antennas to be at 90-degrees from each other. The one in back (although inside) is good because often the back is facing me. At least one outside is good. However, I'm not currently seeing much of a difference having it in similar position (but inside, just on other side of thin plastic body). I'm not drilling another hole (for outside mount) until I decide exactly where my 915mhz Telemetry antenna will be finally (I have moved it several times) and also a possible 5.8ghz FPV TX. I would like all 3 antennas to be on different sides (and also no interfere with GPS, Compass, etc.).
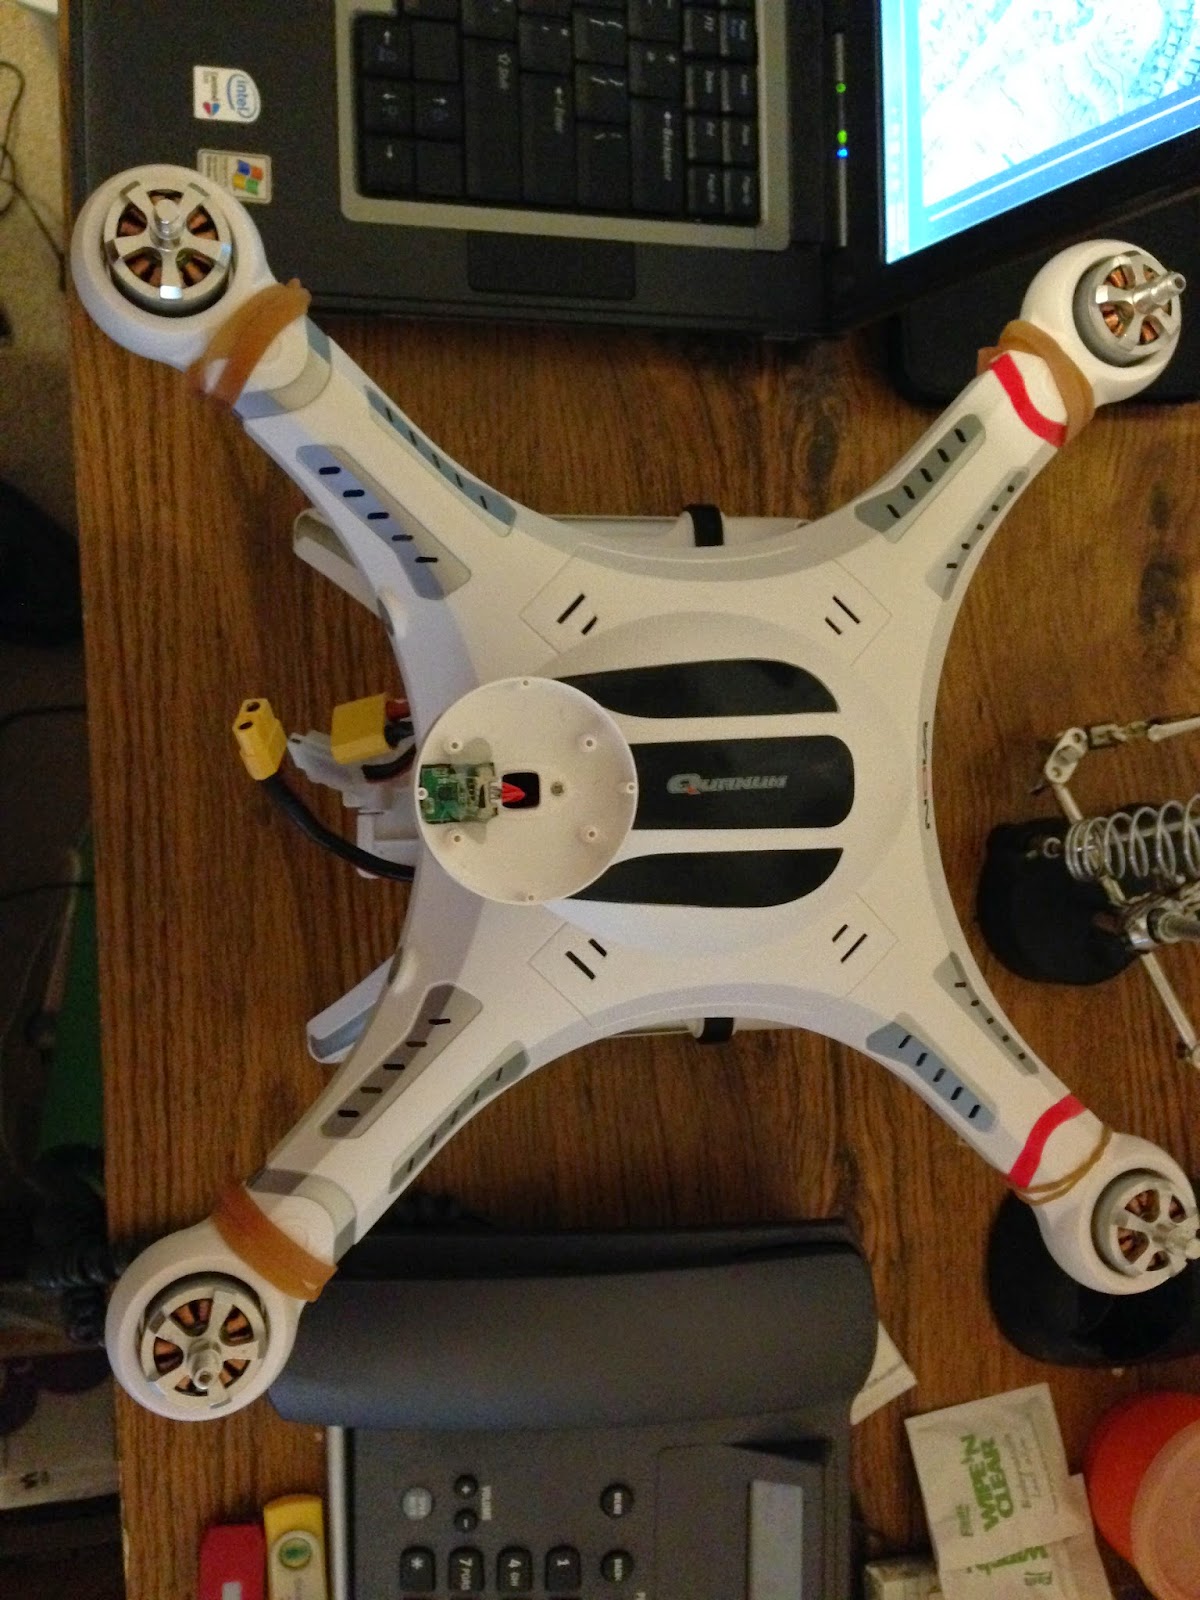
So, the whole time during "bench build & setup" (non-flight and no props) I
have not had the body shell screws installed (so I can get back inside if
needed). If powered-up and connected to MP, I also like to have the compass
connected. I have been using 4 large rubber-bands to keep it together while
handling and it works pretty good .
Another important benefit of this FrSky radio set... Between the Telemetry display on the TX and RSSI monitoring ... it's easy to know if the TX and RX are still bound together (without observing the status-led on the RX).
No comments:
Post a Comment
The stupid spammers have now forced me to approve each Comment before it appears (but I am usually pretty quick about it).