Saturday, July 18, 2015

Flight Session #35 - First Nova FPV flight

While I have flown FPV with my little Hubsan X4 H107d, this is my first attempt at flying my Nova with any kind of 5.8ghz FPV.

I took it up to about 10 meters. While keeping it in Loiter and/or Alt-Hold ... I carefully flew around the field using only the tripod mounted FPV screen.

Since I got a new set of HK DIY FPV Version-2 Goggles, I mounted my old Version-1 Goggles to a tripod. No Fresnel lens is used and the black foam box makes a nice sun-shade.


I had an spare iPhone tripod mount, so I cut a piece of balsa-wood with similar dimensions. I used M3 nylon standoffs to attach it to the back of the LCD screen.


Good day of manual flying through 2 batteries.

Sunday, July 12, 2015

Auto-Mission 06

My longest Auto-Mission to date at nearly 1 mile. Around a school and church, with an interesting situation near the middle with some power-line towers. Winds were around 14mph (on ground ... even faster higher-up apparently) and HDOP was good at 1.5. This video is HD with sound (and looks best full-screen).


Only second flight with all 3 on-board radios going (915mhz, 2.4ghz, 5.8ghz). I did get some in-flight RSSI warnings when Nova was on other side of school, but I think it was because school was blocking antennas Line-of-Sight. I think I might need to install a different voice on either Tower or Taranis ... it's difficult to let exactly which device is warning me, and about which radio.

As you know, I was watching Nova's progress through the mission on Tower in real-time. Among other (more important) things, this provided my cues to change camera pitch-angle.

To prove it can do it, I again let the Auto-Mission complete and land by itself. It was actually a pretty fair landing and looks worse than it really was. After it landed, it just tipped over slightly (of course, no damage).

I have no PowerModule (and no way to easily add one to this Cheerson FC) ... so it's good to know about how far I can mission-fly on this 2700mah battery. Yes, audible on-board Low-Voltage-Alarm was sounding as Nova was landing this time.

Friday, July 10, 2015

Mounting FPV vTX

I needed a place to mount my Boscam 5.8ghz 200mW VideoTX. Since I was now splitting the 12v between gimbal and vTX, I thought it might be helpful to have a switch also. This panel mod easily attaches to under-side (using landing-gear thumb-screws). Section supports can be cut to triangles and face will still be sturdy.

Low-profile Mobius Mini-USB video cable (HK)
DPST Switch
Various male/female red JST plugs so it is easily removable.
Small Harbor-Freight parts box


Same basic idea should work on other frames. I'm leaving the small area directly behind gimbal free for a possible auxiliary 7.4v battery.

This is also a good pic of my new Landing Gear - Extended Rubber Feet. (see comparison)

Wednesday, July 8, 2015

Oh Puck, not again.

The Nova ended up on it's back again, and cracked the puck for the second time. Time to re-mount and re-orient compass-module.

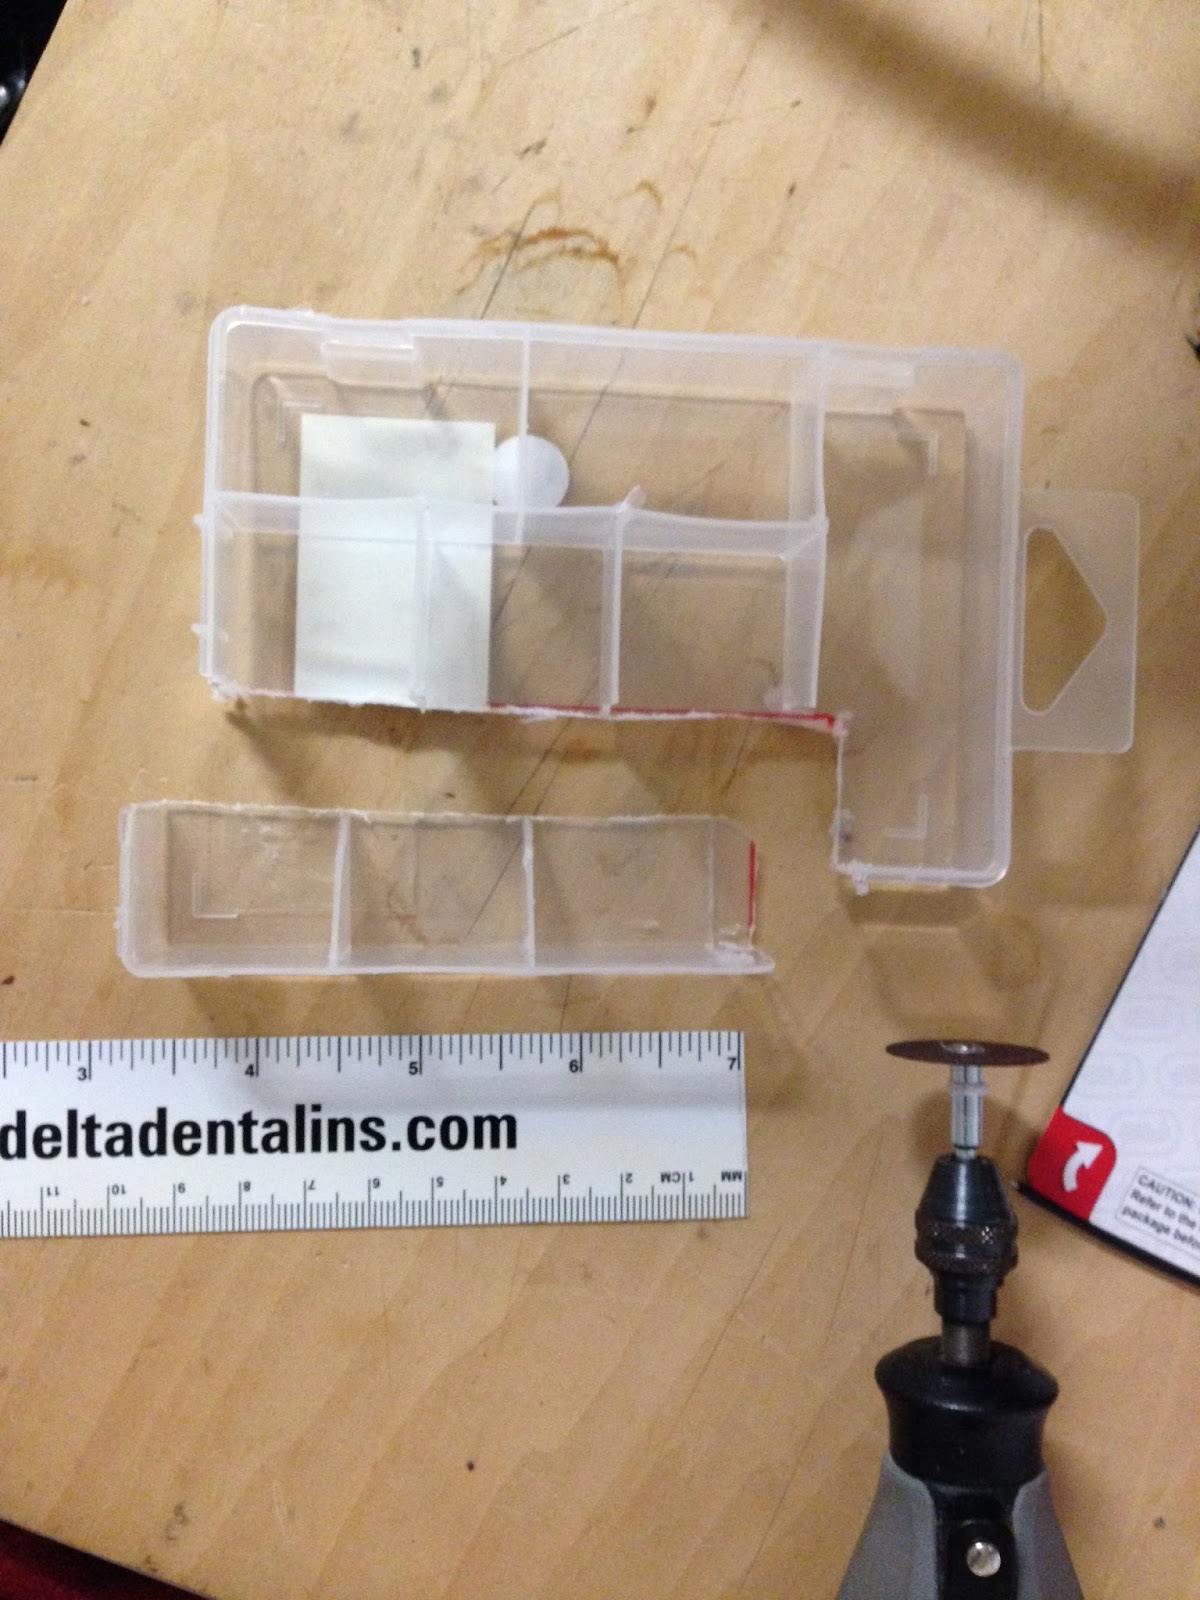
I used Plastruct Solvent to glue white outer-shell back together and let dry over-night. Might as well save this plastic piece since it matches rest of body. Could have stopped there, but I think it needs to be sturdier. Inserted piece of wood with large heat-shrink on it in main hole ... it must fully fill it to keep epoxy from seeping-down. Mount lower puck to level surface so epoxy dries level. Filled puck with about 10ml of 30-minute epoxy (with added hobby fiberglass filler) to adequate level. After it dries over-night, epoxy surface is flat. Cut away tubing to reveal small hole for connector and cable.


The puck is now stiffer and sturdier. With drill-press, drilled small holes thru epoxy for mounting screws and compass hold-down strap.


Even with it mounted slightly forward (with foam tape), notice that compass chip is still perpendicular and parallel to quad center-line. In this orientation, I set parameters to:
COMPASS_EXTERNAL,1   (external compass)
COMPASS_ORIENT,2   (yaw compass 90 degrees)


MissionPlanner HUD would not show proper direction until after initial compass calibration. First calibration attempt was fast/clean but a poor -434, -21, -14. Second attempt was similar (results +/- 5%).  sats=8, hdop=1.8, 3min warm-up, AutoDec. This is prior to re-mounting compass Yawed 90 degrees. With this additional step, compass can stay mounted while puck is removed. It's also obvious that getting actual compass chip even slightly further away from metal (screws) is worth the effort (to get better compass calibration offset results).

Additionally, using de-magnetizer on metal screws and screwdriver got 400's of previous attempts down to low 200's.  Final working calibration was -37, -226, 135.  sats=8, hdop=3.4, AutoDec. All calibrations were done outside on deck with view of sky.

I might try nylon screws if I can find suitable ones, although, this setup is real sturdy.